How to set up your Raspberry Pi
The Raspberry Pi is a low cost, credit-card sized computer that plugs into a computer monitor or TV, and uses a standard …


In this article we will see how to install Multiple Virtual Storage, more commonly called MVS operating system into Raspberry Pi.
We will use MVS 3.8j Tur(n)key 4- (“TK4-”). This a ready to use OS/VS2 MVS 3.8j system built specifically to run under the Hercules System/370, ESA/390, and z/Architecture Emulator.
We assume you have already completed the initial setup of Raspberry Pi. If need instructions on how to do the initial setup of Raspberry Pi, Please read How to set up your Raspberry Pi.
Please follow below steps to install MVS in Raspberry Pi
Login into Raspberry Pi in desktop mode
Download current version of MVS Turnkey from http://wotho.ethz.ch/tk4-/tk4-_v1.00_current.zip. You can do this just by following this link in chromium browser OR using wget http://wotho.ethz.ch/tk4-/tk4-_v1.00_current.zip in a terminal session.
Open a terminal session, then create a directory for mvs and unzip the content to this new directory
cd /opt
sudo mkdir mvs
sudo unzip /home/pi/Downloads/tk4-_v1.00_current.zip -d /opt/mvs/

Start mvs in unattended mode with the command
sudo ./mvs
Successful start will give you below message. DO NOT type any thing in this terminal after this. Just minimize the screen and leave this running.

Download a terminal of your choice. You might be familiar with commercial once like PowerTerm TN3270 and Bluezone. Unless you are holding license for a commercial terminal, go a head and download the opensource x3270. x3270 can be installed both on your Raspberry Pi OR windows machine.
Download x3270 Windows Setup .EXE file from http://x3270.bgp.nu/download.html

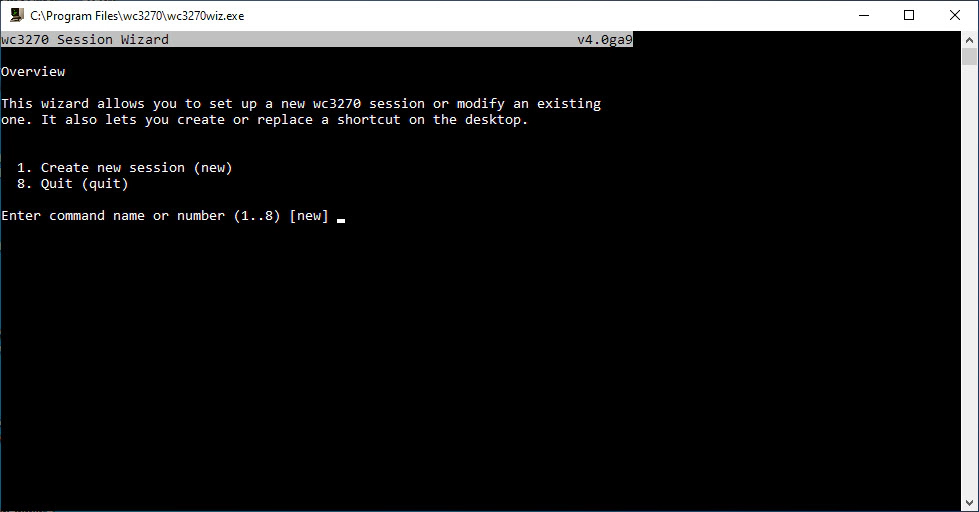
Install wc3270

Open wc3270 and select create new session (new)
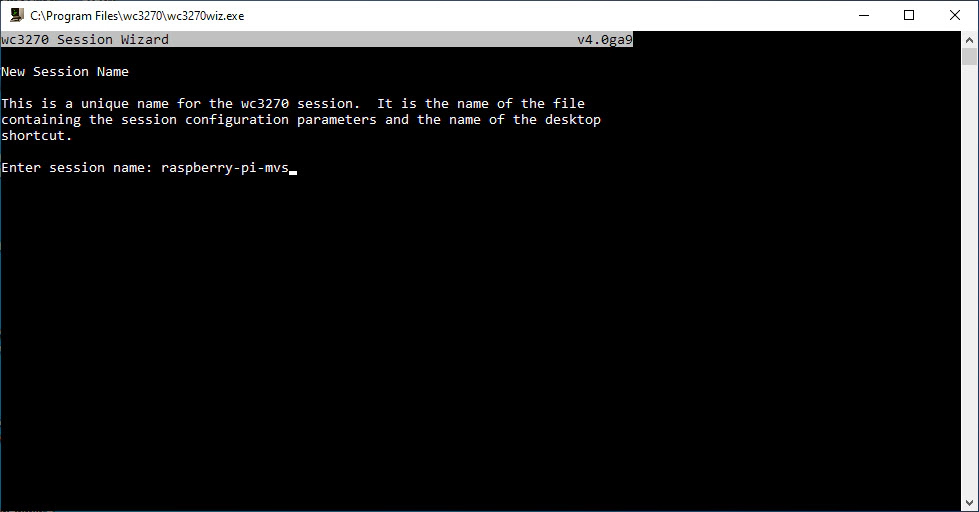
Give a name for for the session.
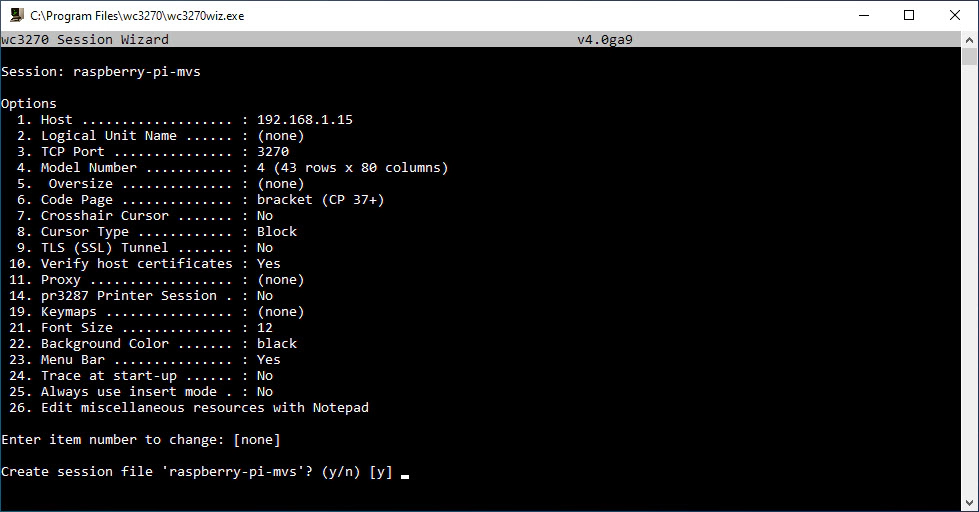
Enter the host name OR IP address of your Raspberry Pi with MVS. Host name did not work in my first try, So I had to use IP address.

MVS is running on port 3270, So enter 3 to change the port number

Update port number to 3270 and click enter

Create the session file and save the desktop shortcut


Press enter after placing the pointer on first line

Login using HERC01 and CUL8TR

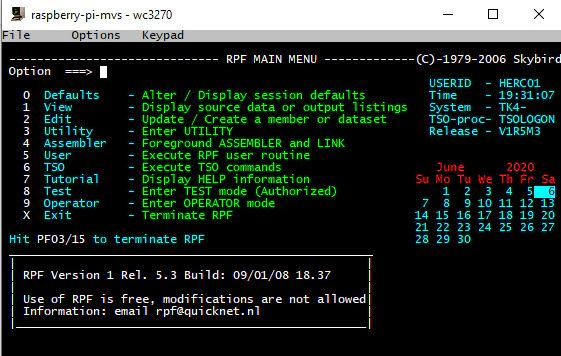
In the TSO menu enter 2 to select the RFP (Robs’s Programming Facility)

You are in the RFP menu now. This should give the feel that we are in mainframes now.
Go back to home screen by pressing F3 and navigate to 1 RFE –> 1 BROWSE –> DATA SET NAME ===> 'SYS2.JCLLIB'. You can try running some test jobs from this library. Today for this article we will try IEBCOPY
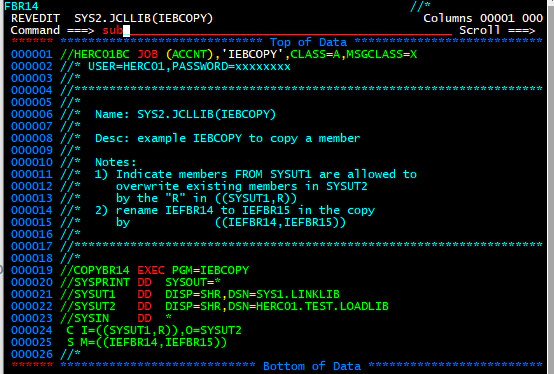
Target dataset before execution

Target dataset after execution

From home screen, navigate to 4 QUEUE –> $T PRTN,Q=A –> HO to review the job execution results.

Now we have MVS running in Raspberry Pi to work/play/practice in Mainframe. Hope you found this article interesting.
Hope this was helpful. Did I miss something ? Let me know in the comments OR in the forum section.
The Raspberry Pi is a low cost, credit-card sized computer that plugs into a computer monitor or TV, and uses a standard …

Pi-hole is a network-wide ad blocker. This will block Ads to all devices connected to your home network without having …